Kawasaki Ki61 Hien “Tony” - Build Photos
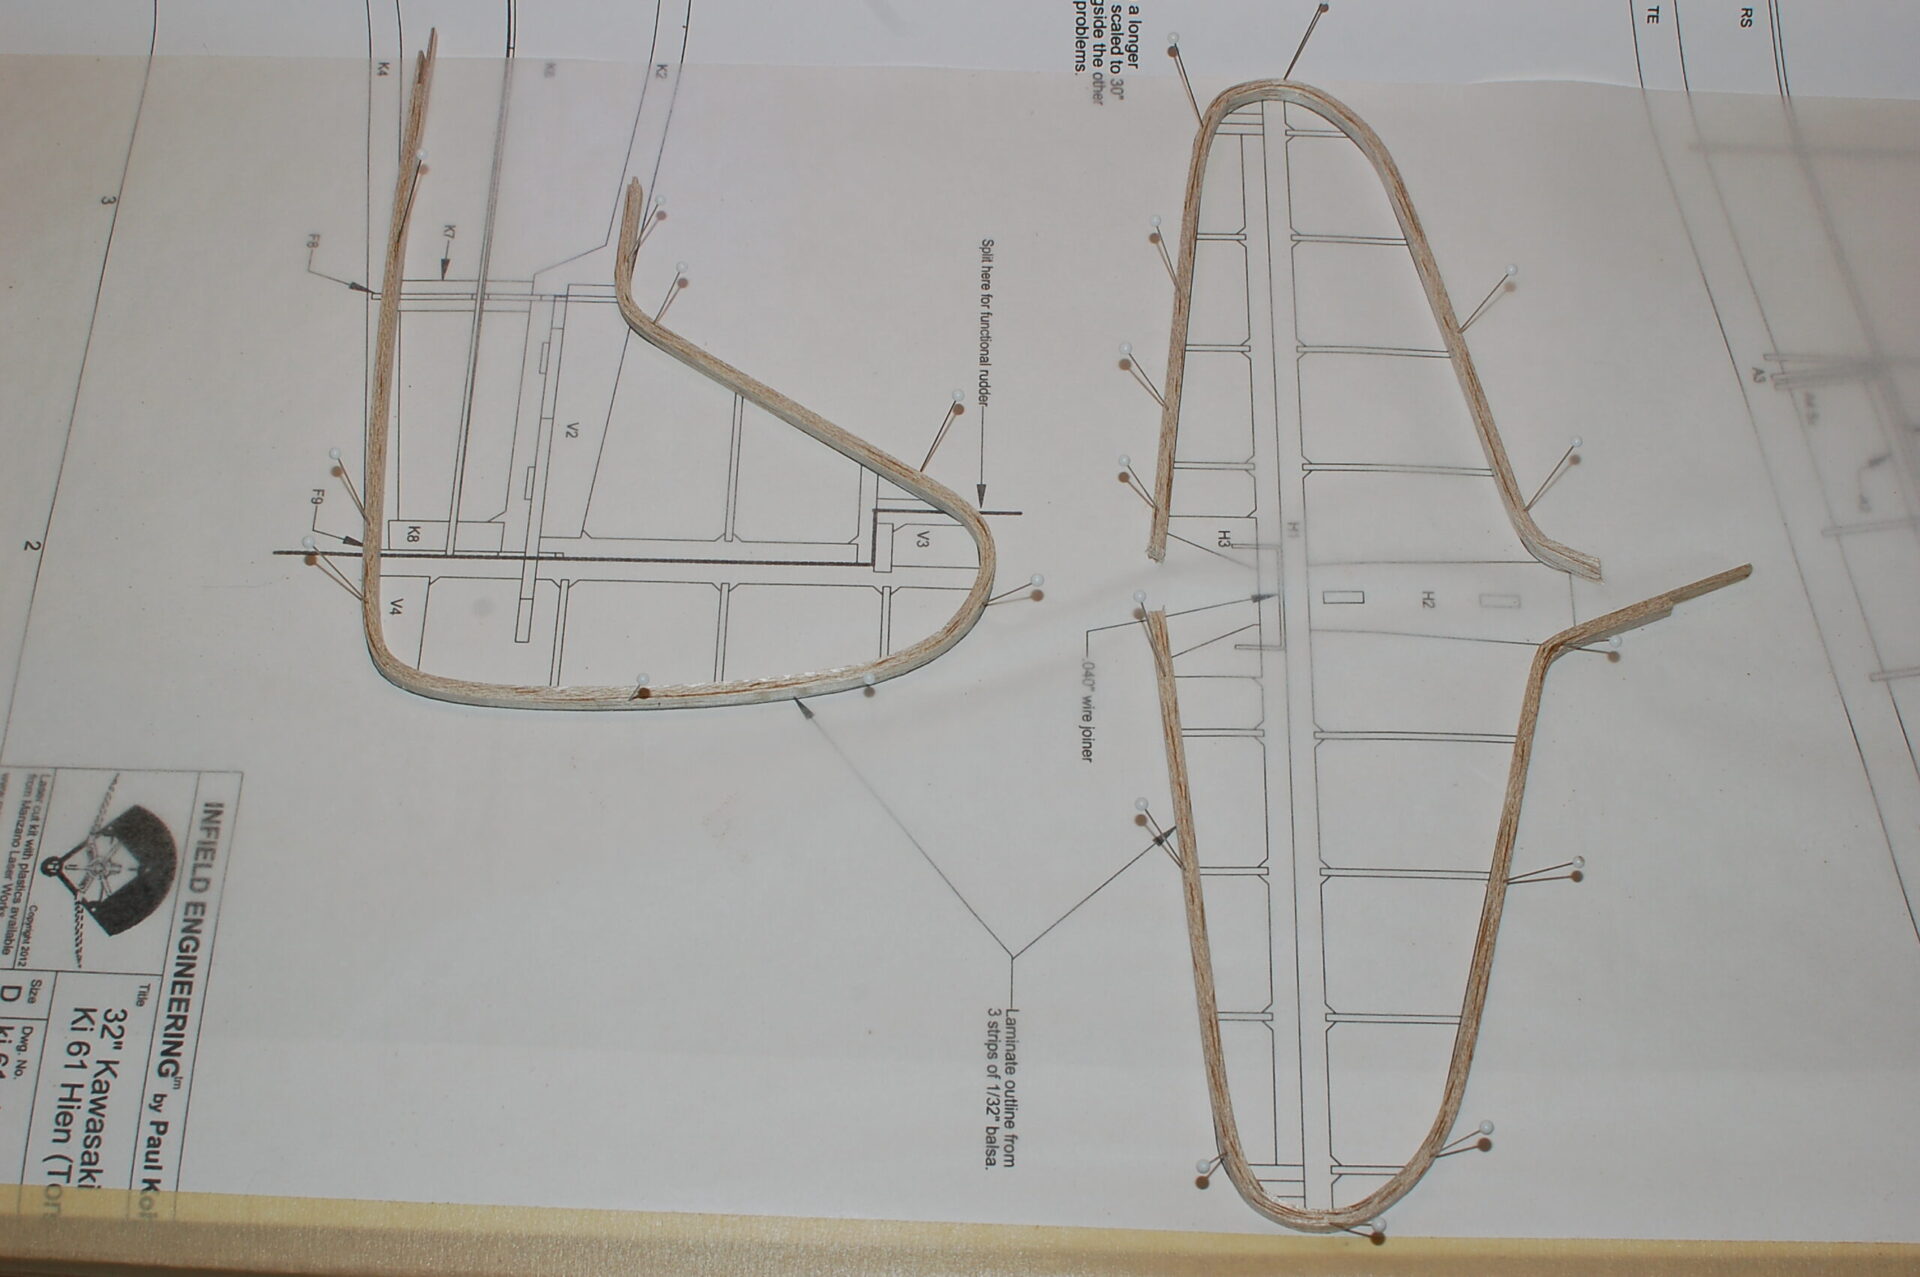
1. Laminated tailgroup outlines pinned down to the board.
- Background
- Build photos
- Finished photos
- RC Groups build thread
- Order a Shortkit from Manzano Laswerworks
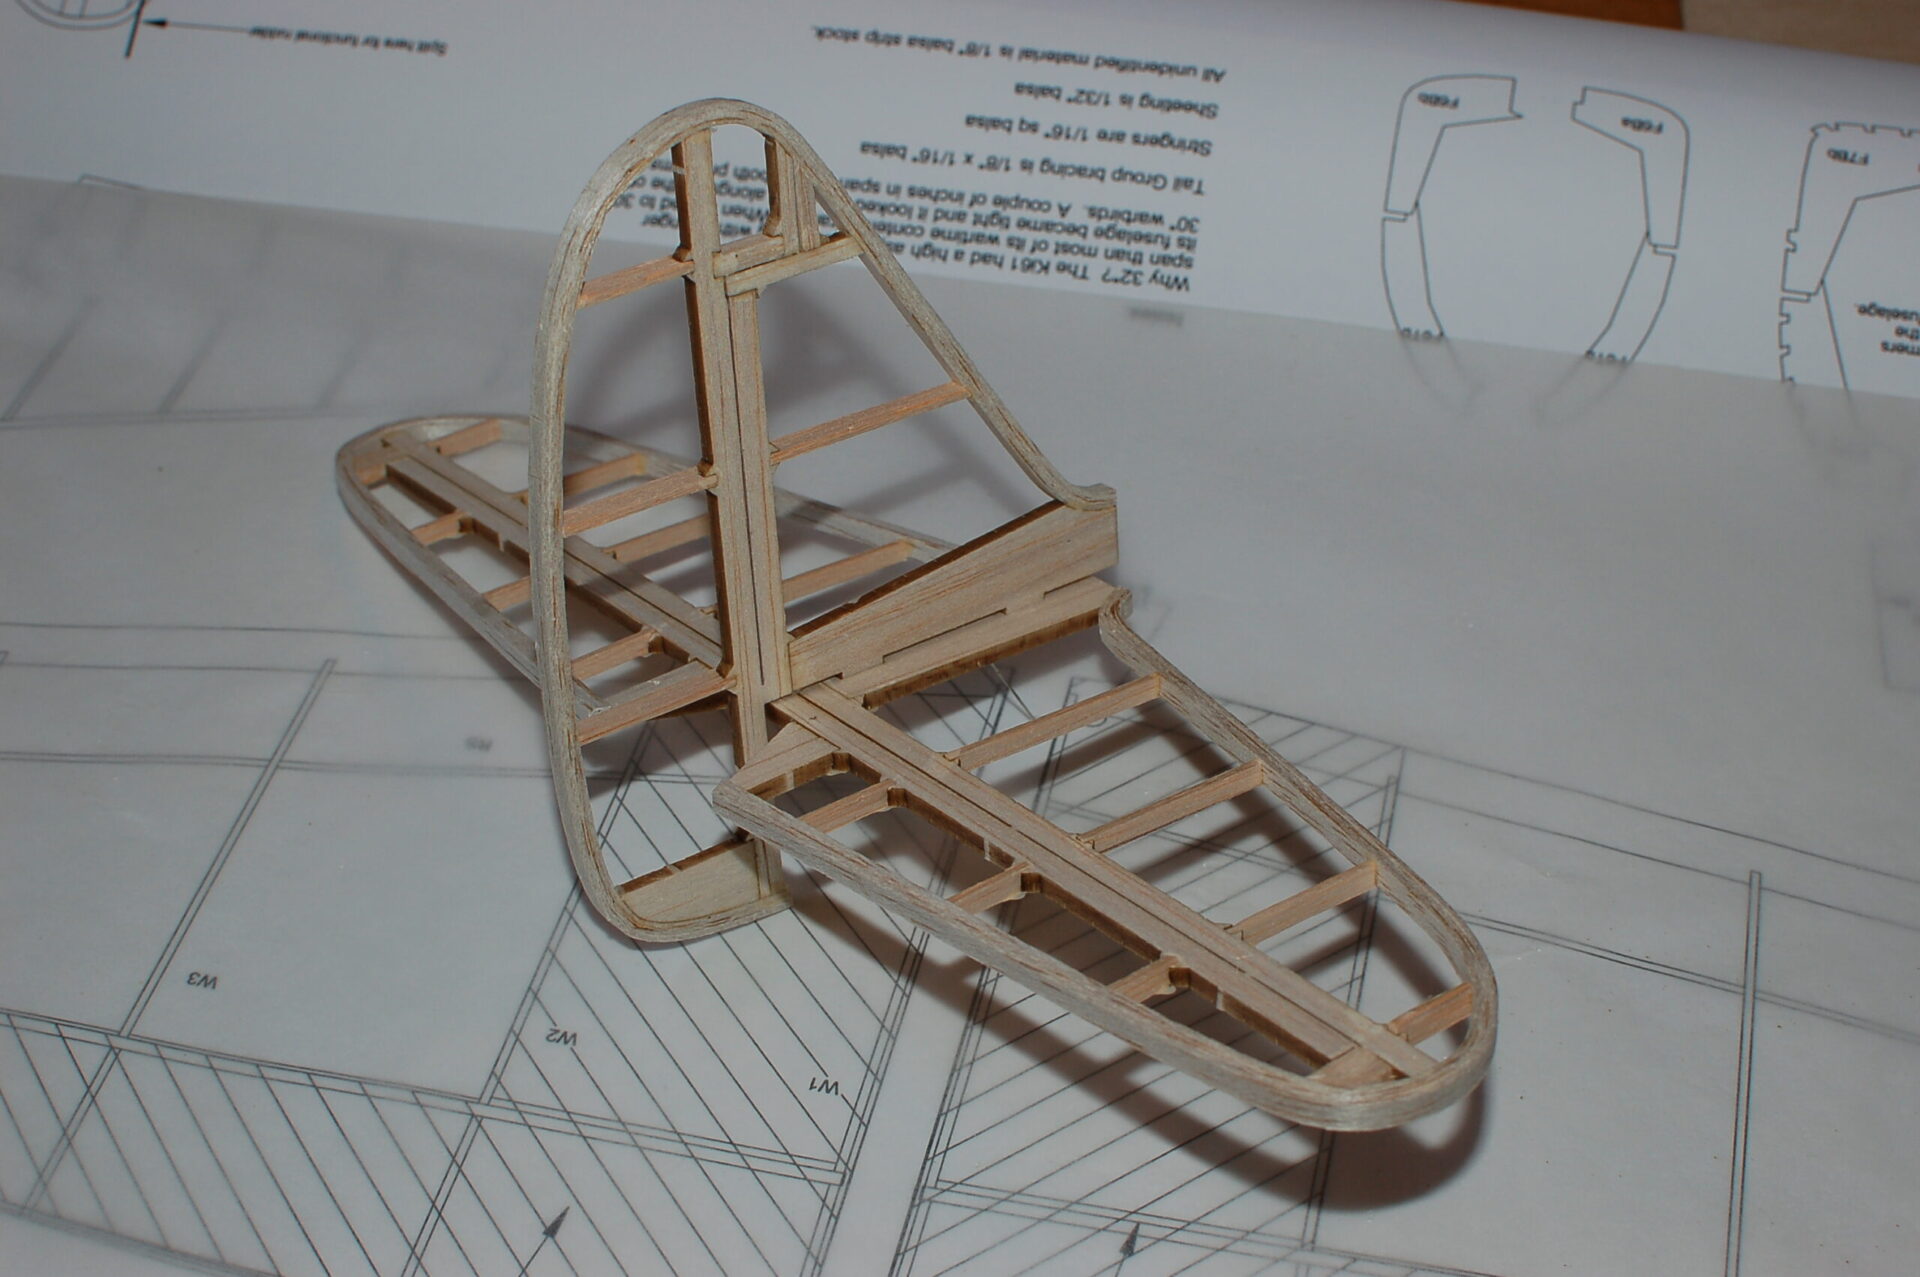
2. Here is the completed tail framework--the fin and horizontal stabilizer will be sheeted while the rudder and elevators remain open structures.
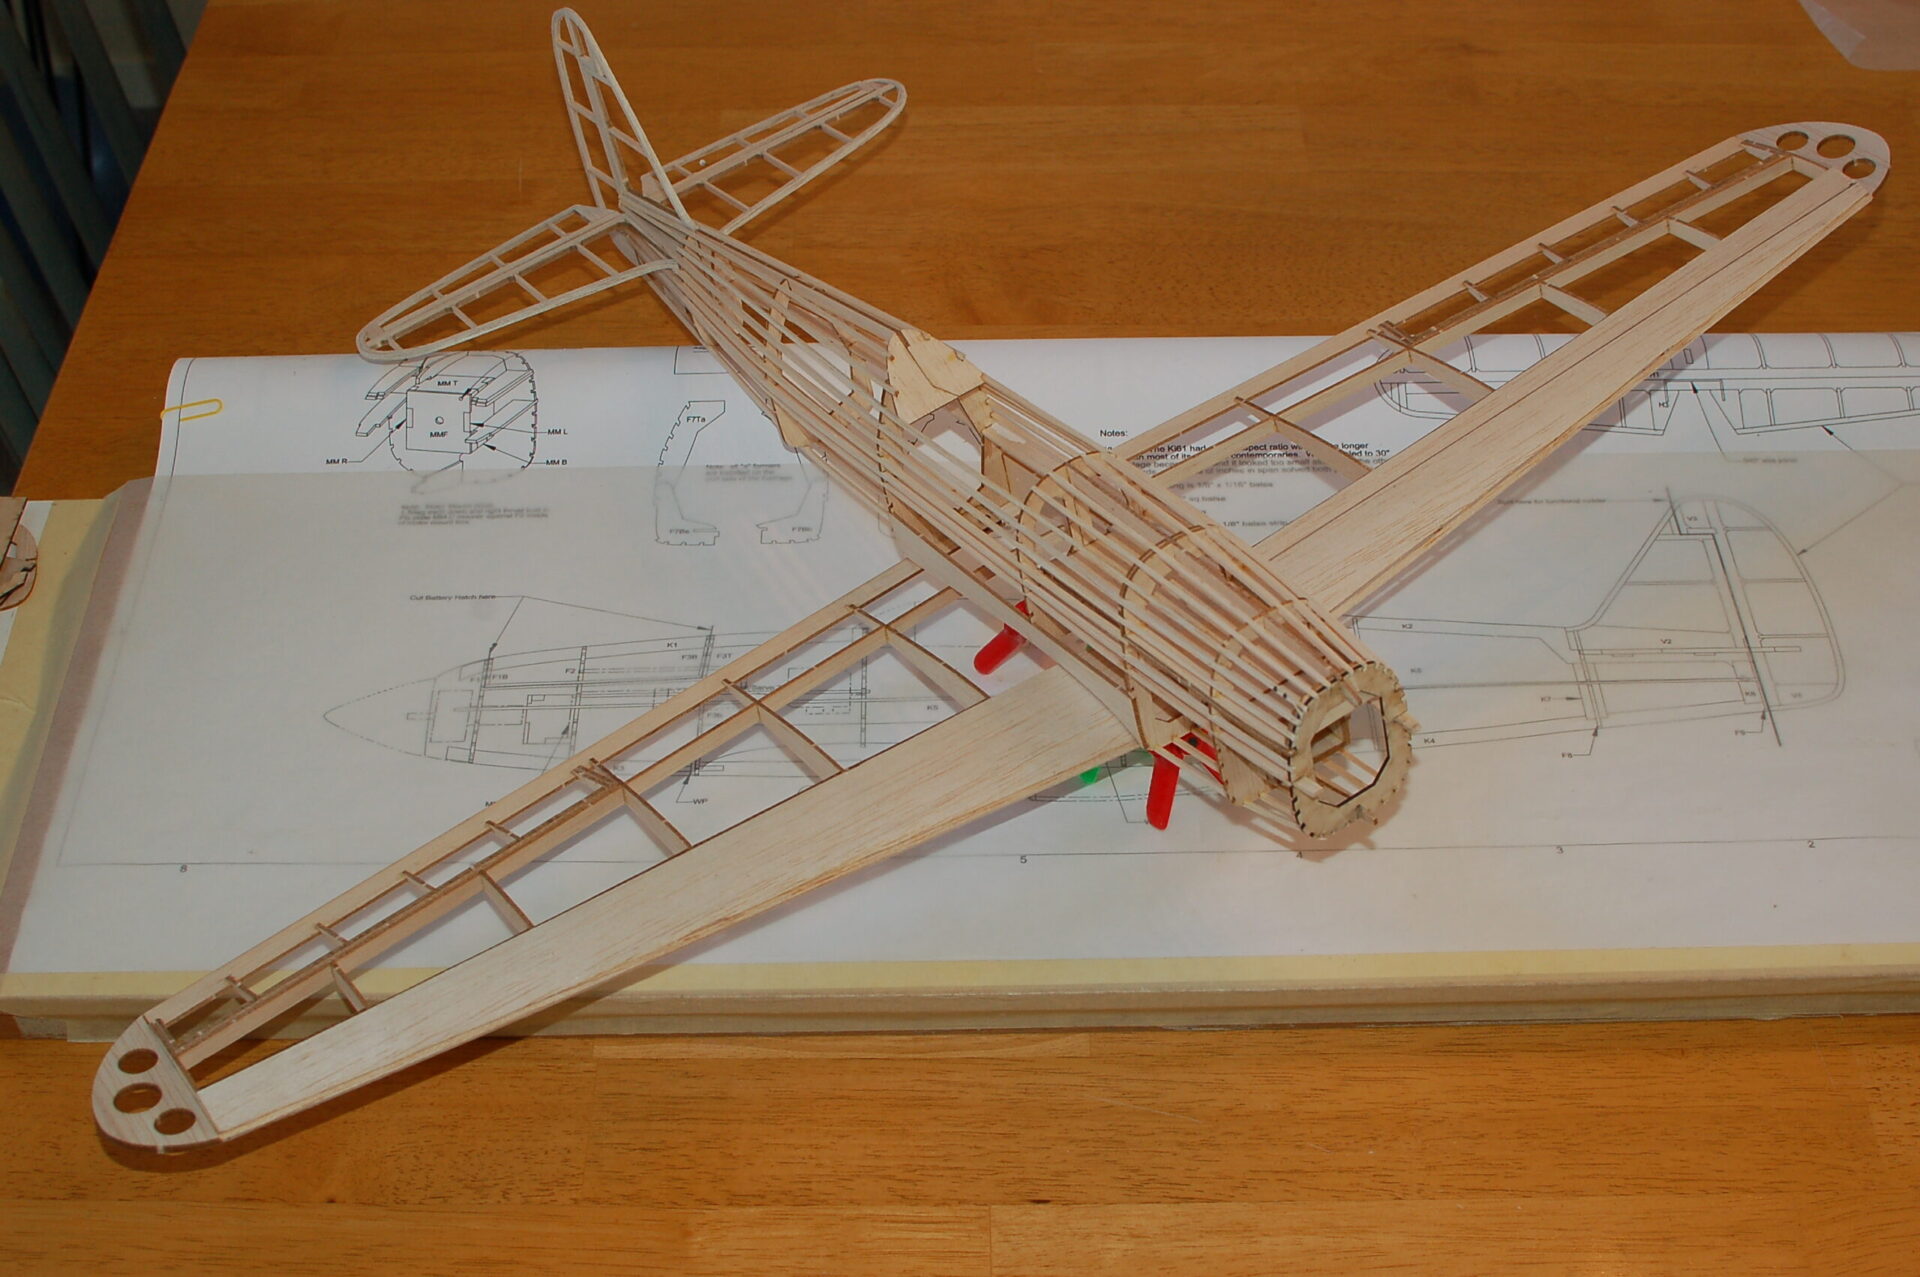
5. Fuse finished. Wing and tail dry-fitted.
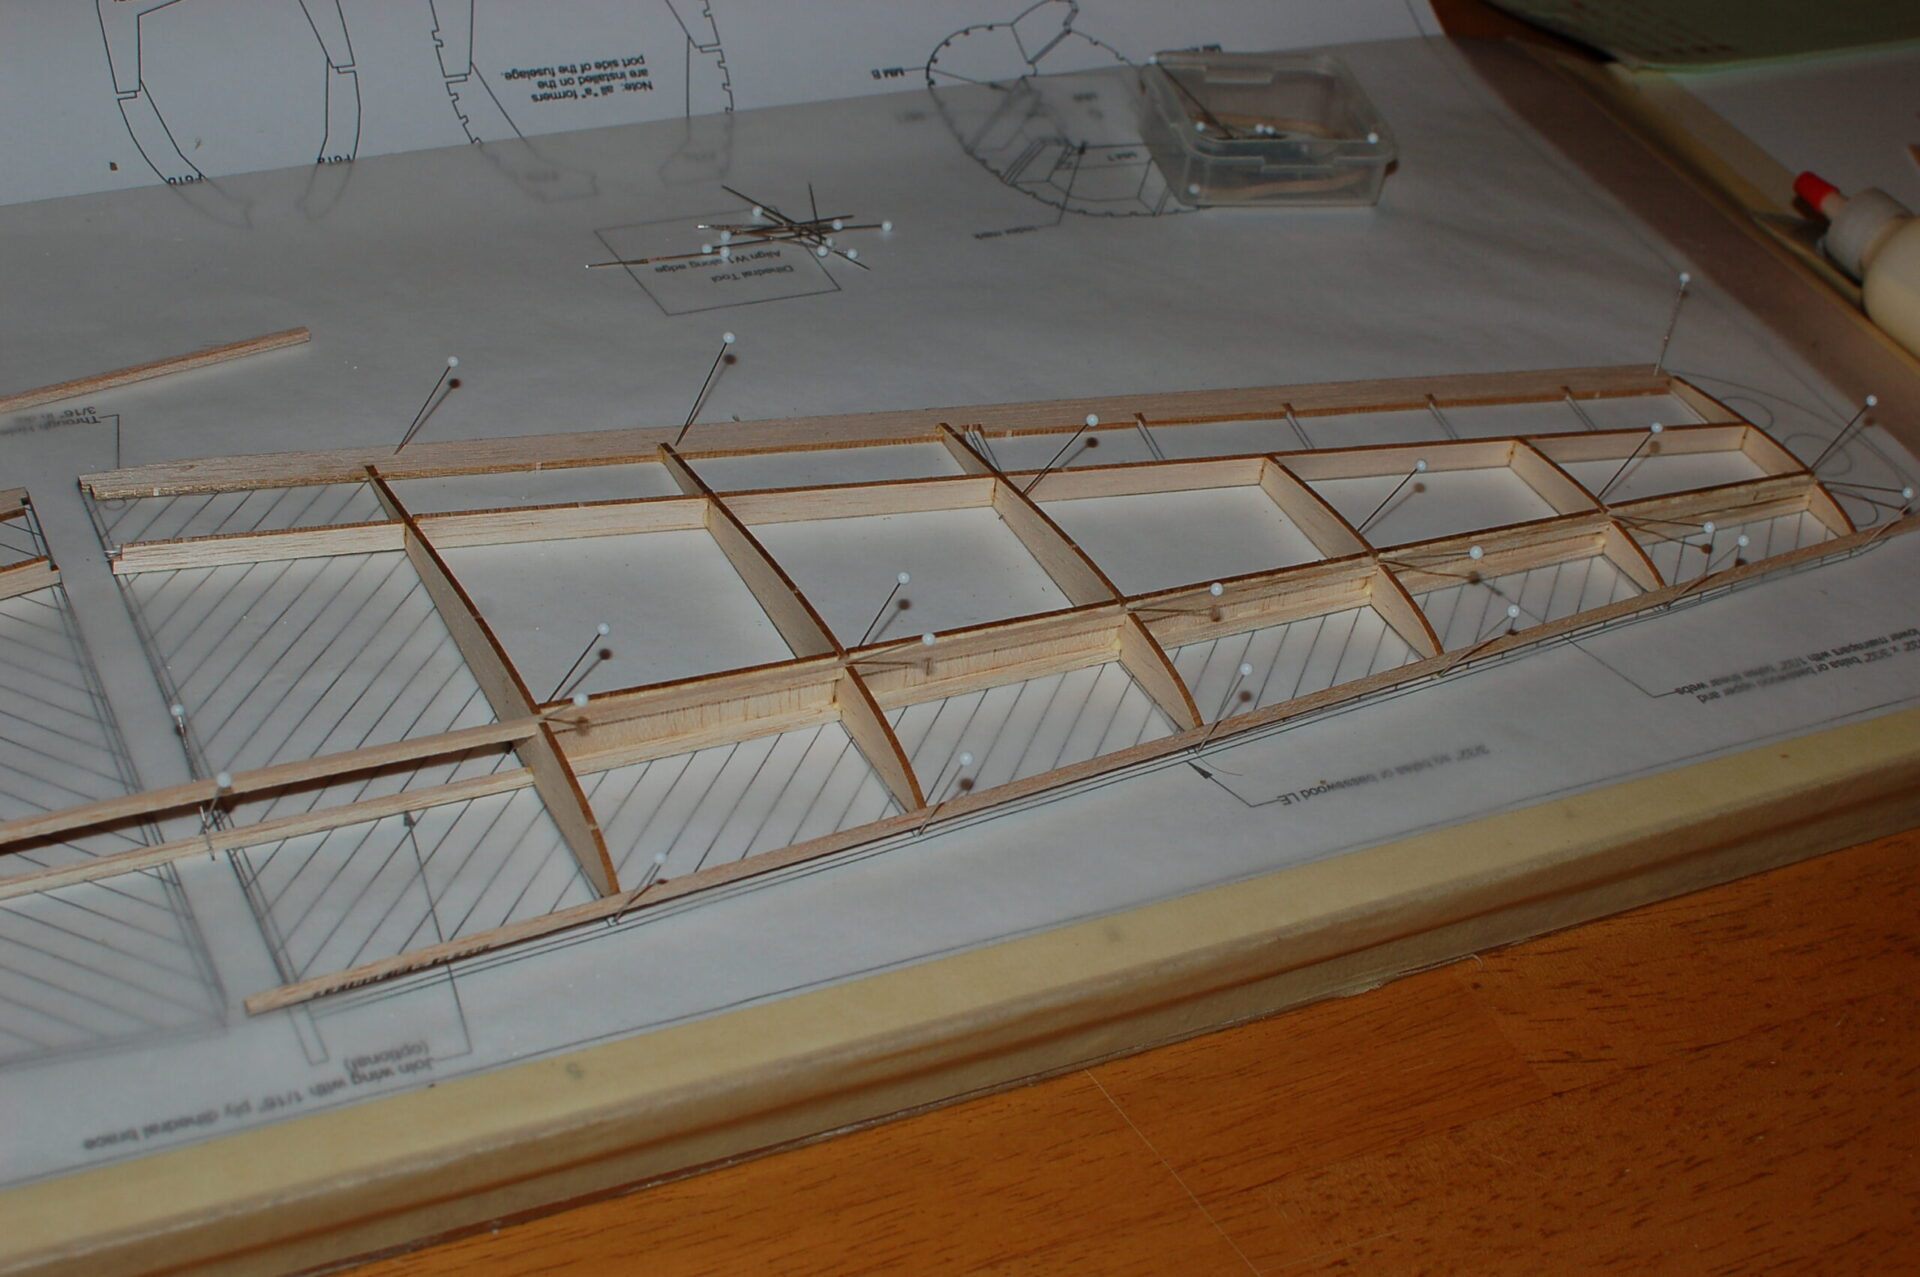
3. Wing almost ready for sheeting from the upper LE to the main spar.
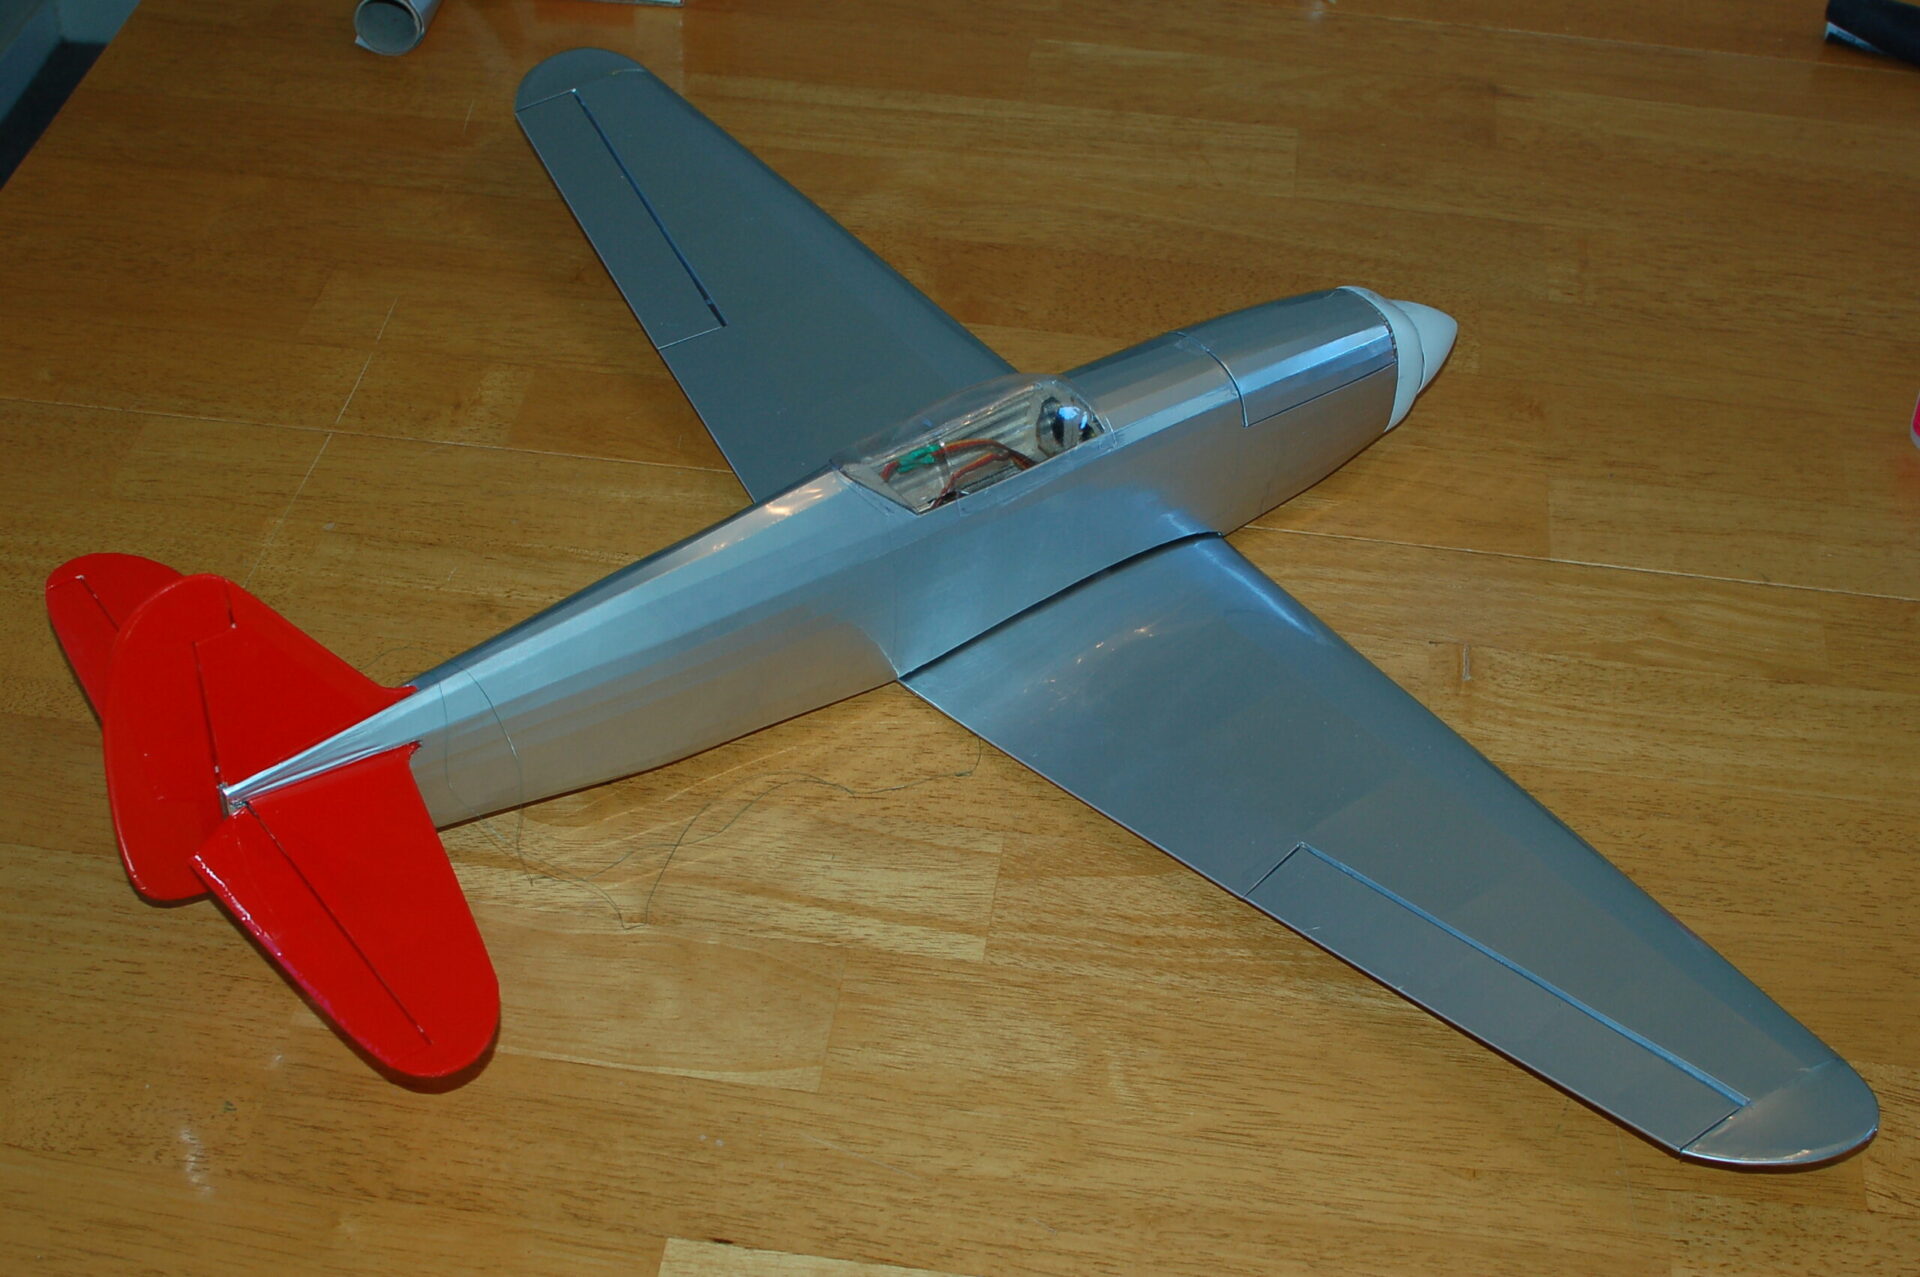
6. Covered with plastic parts in place.
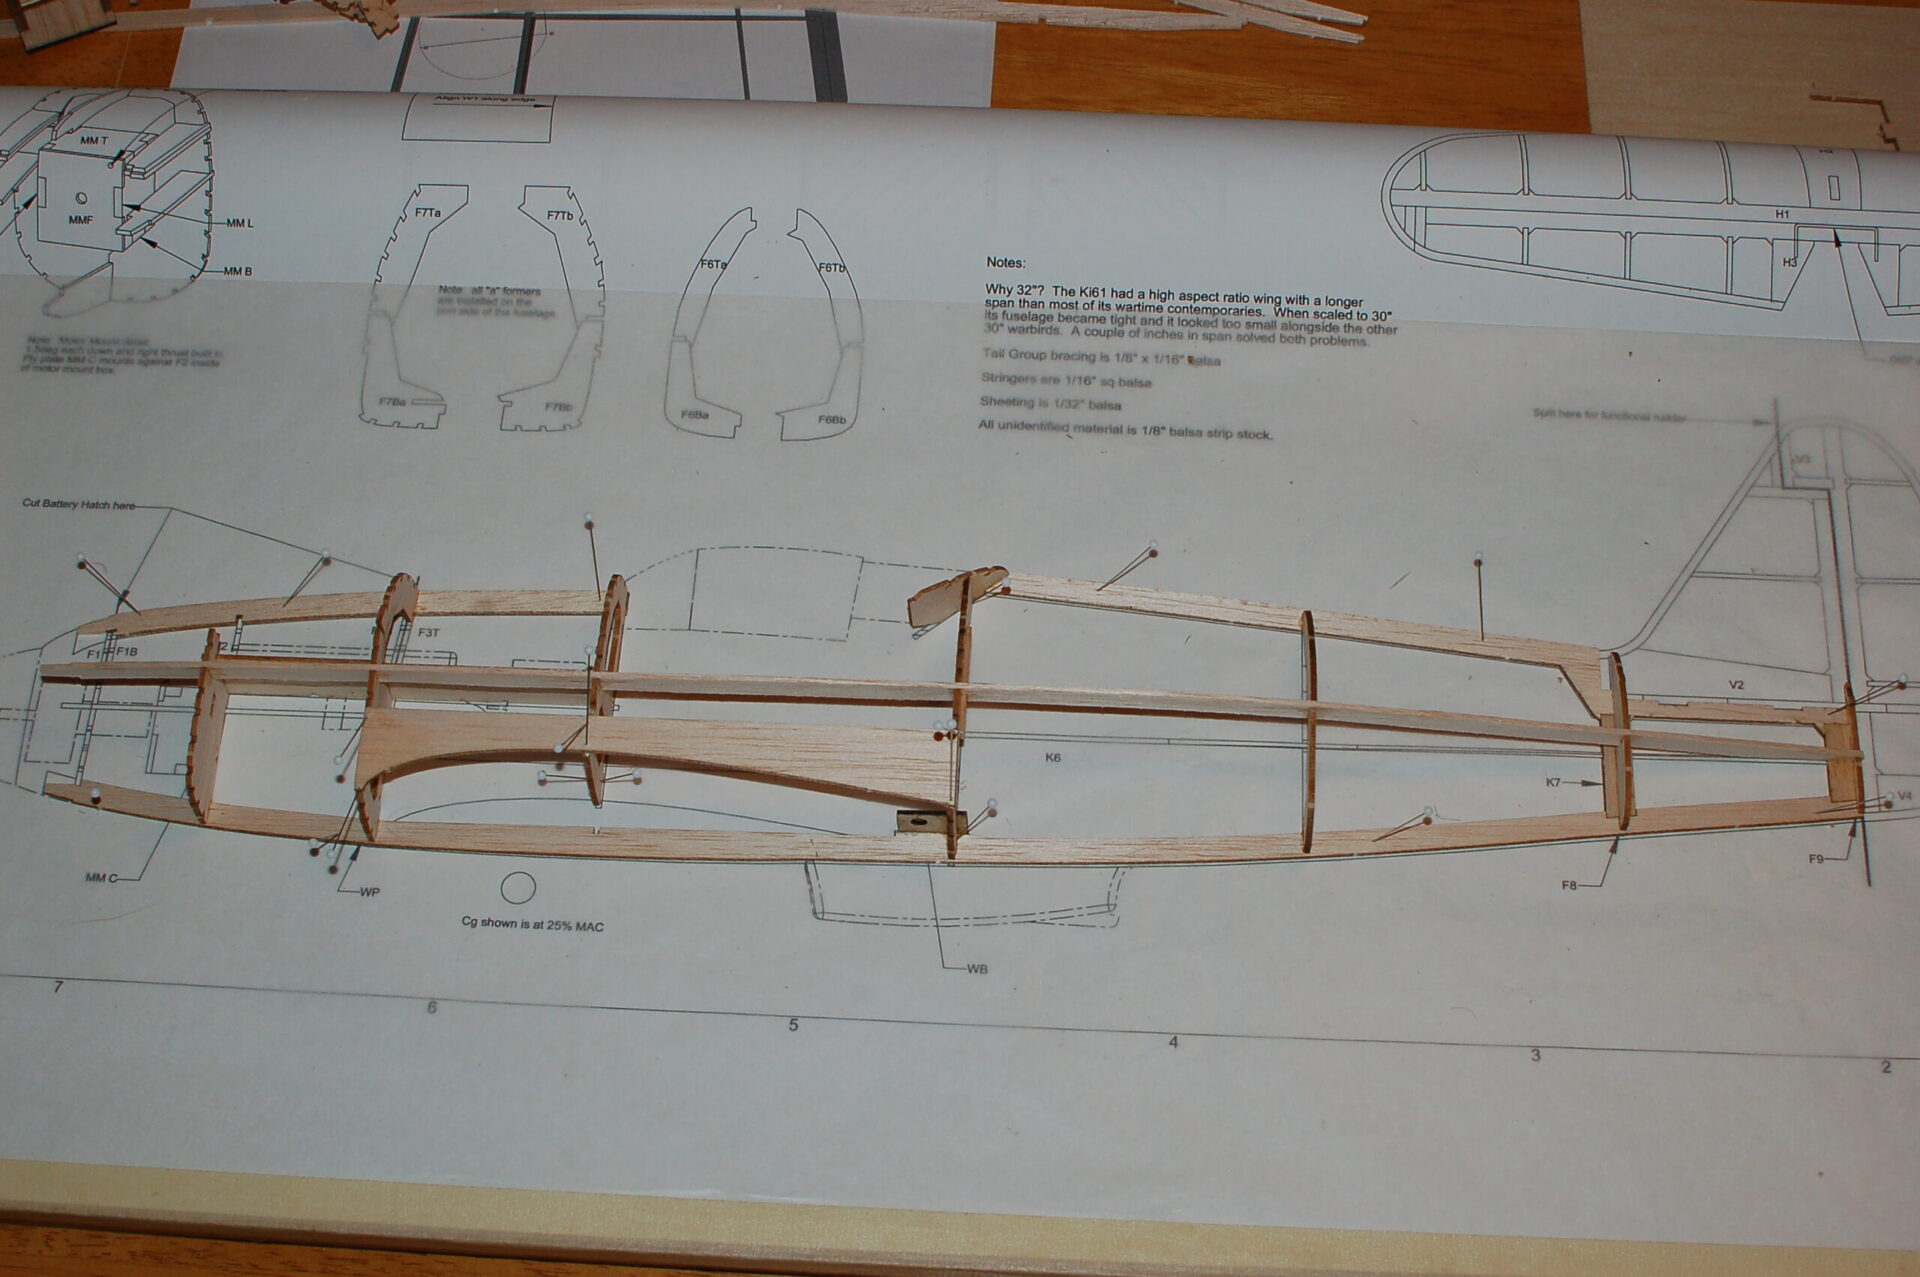
4. Left side of fuse built on the board.
Howard DGA-3 "Pete" - Build Photos
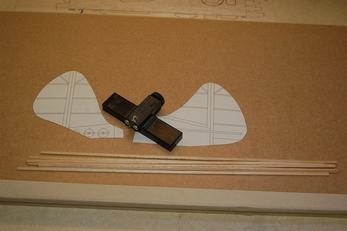
1. Stripping tool and foam forms for building the laminated outlines of the tail group.
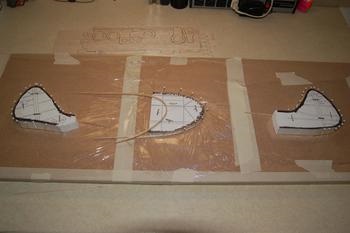
2. Laminations wrapped around the forms and pinned into place while the glue dries.
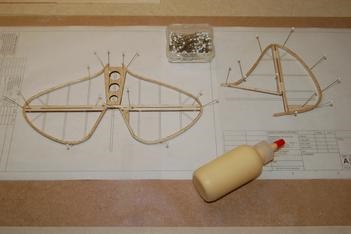
3. Laminated outlines filled with the tail framework.
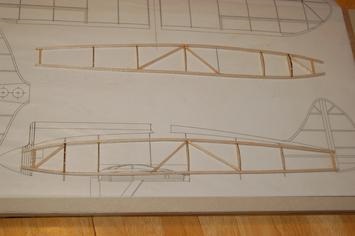
4. Left and right handed side panels built over the plan.
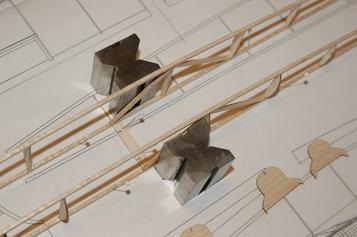
5. Side panels squared up and joined with the lower formers.
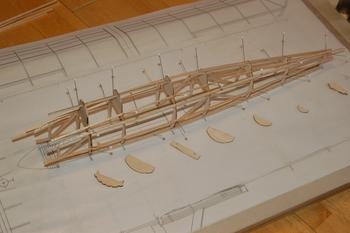
6. Top formers going into place.
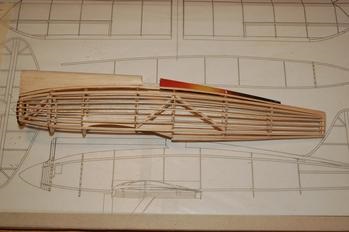
7. Stringers and sheeting of the nose and rear turtledeck complete.
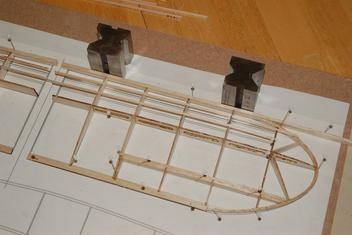
8. Wings going together.
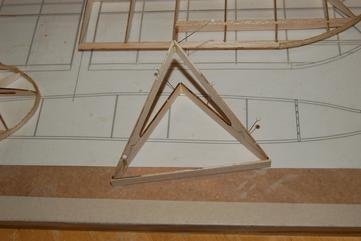
9. Spindly Pete landing gear--the bracing wire is a must-have on this model.
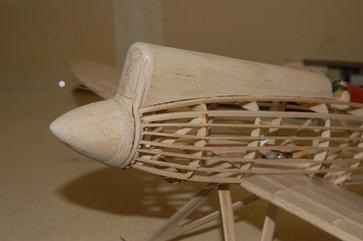
10. Soft balsa spinner turned on a drill.
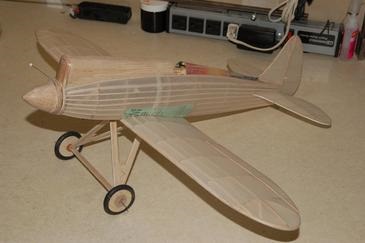
11. Japanese tissue doped with water-based polyurethane.