
Grumman F4F Wildcat - Build Photos
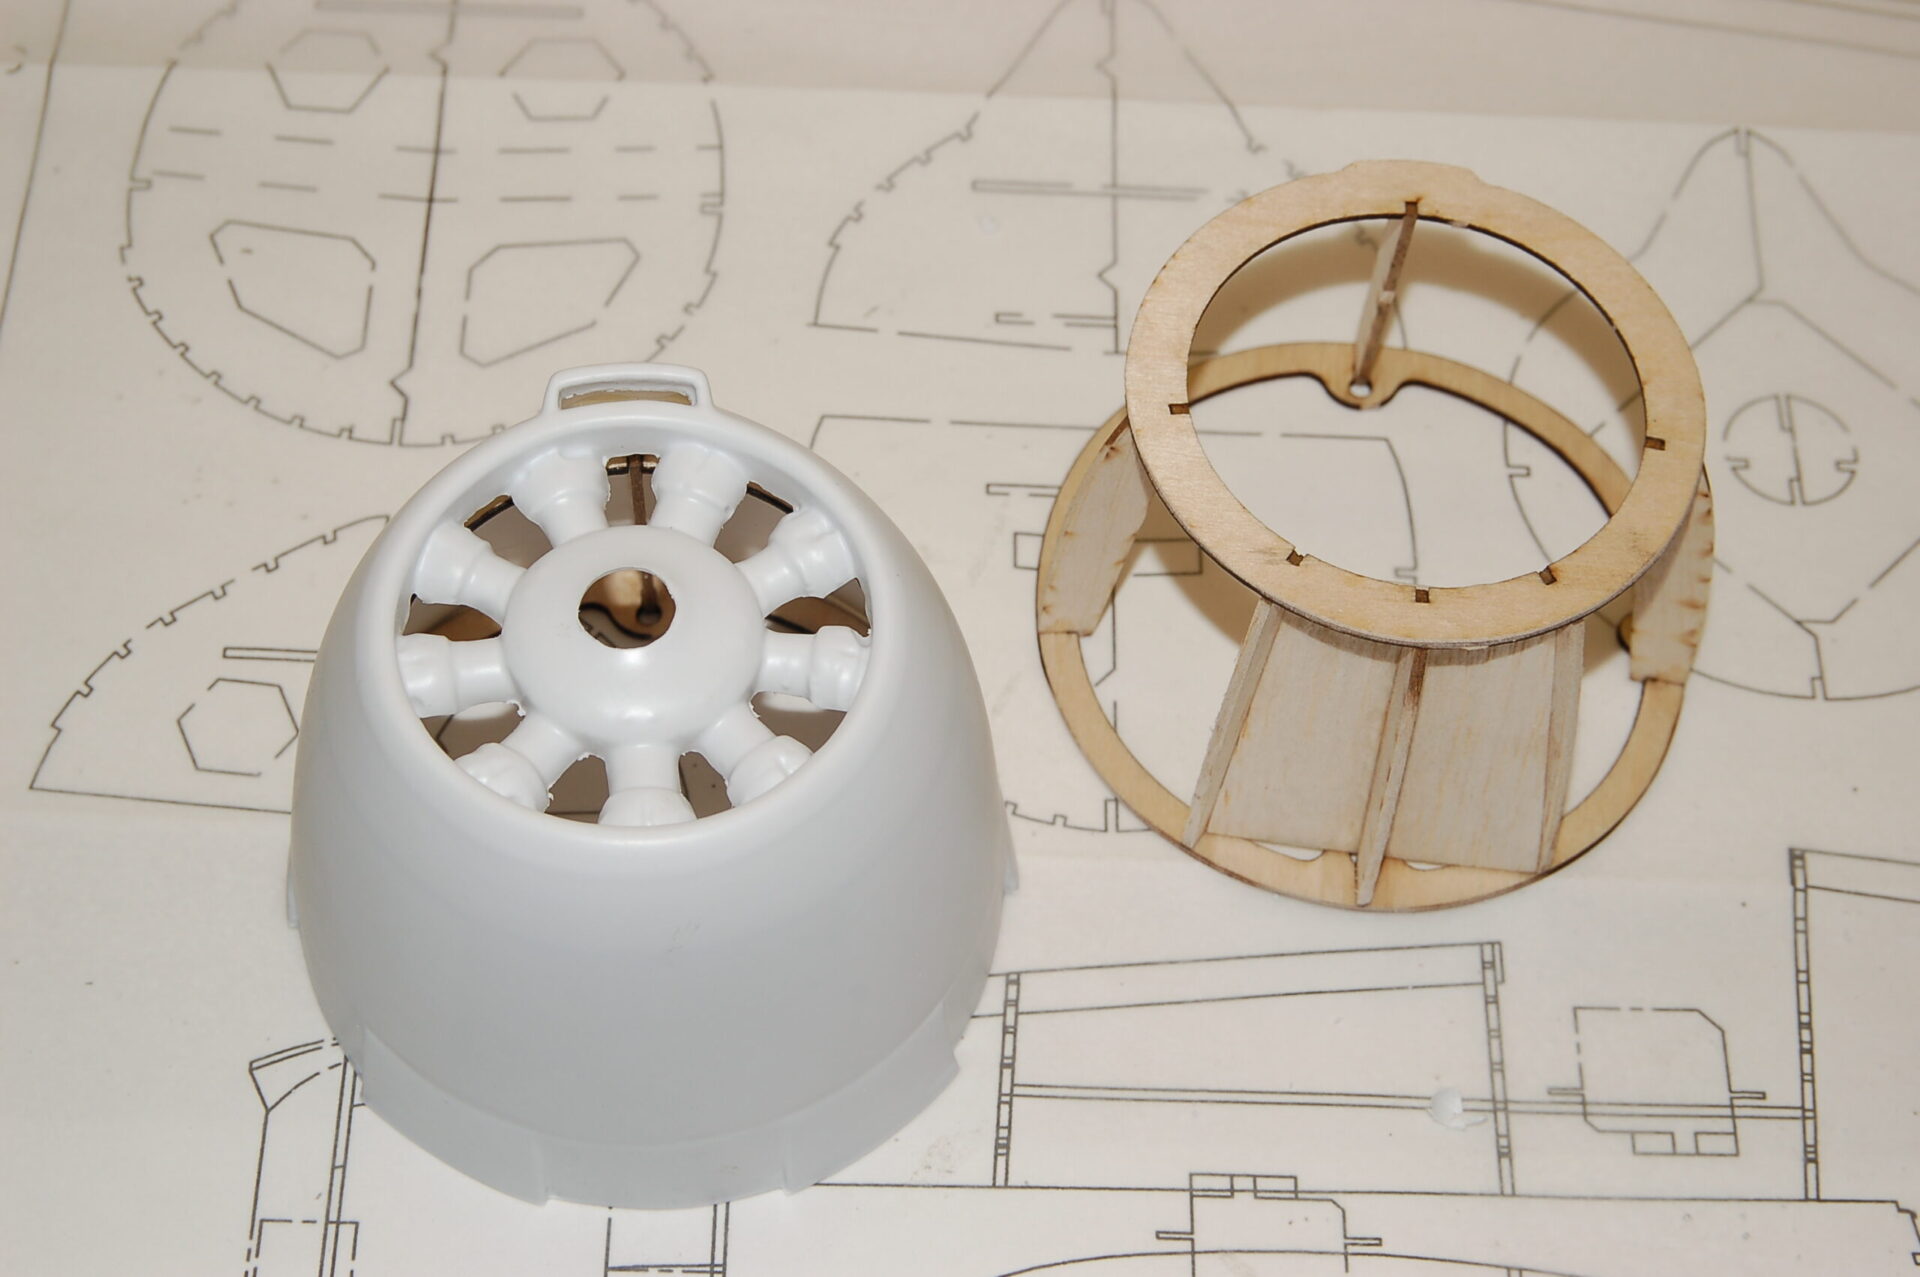
1. A wood framework fits inside the vacuum formed cowling.
- Build photos
- Finished photos
- Videos
- RC Groups build thread
- Order a Shortkit from Manzano Laswerworks
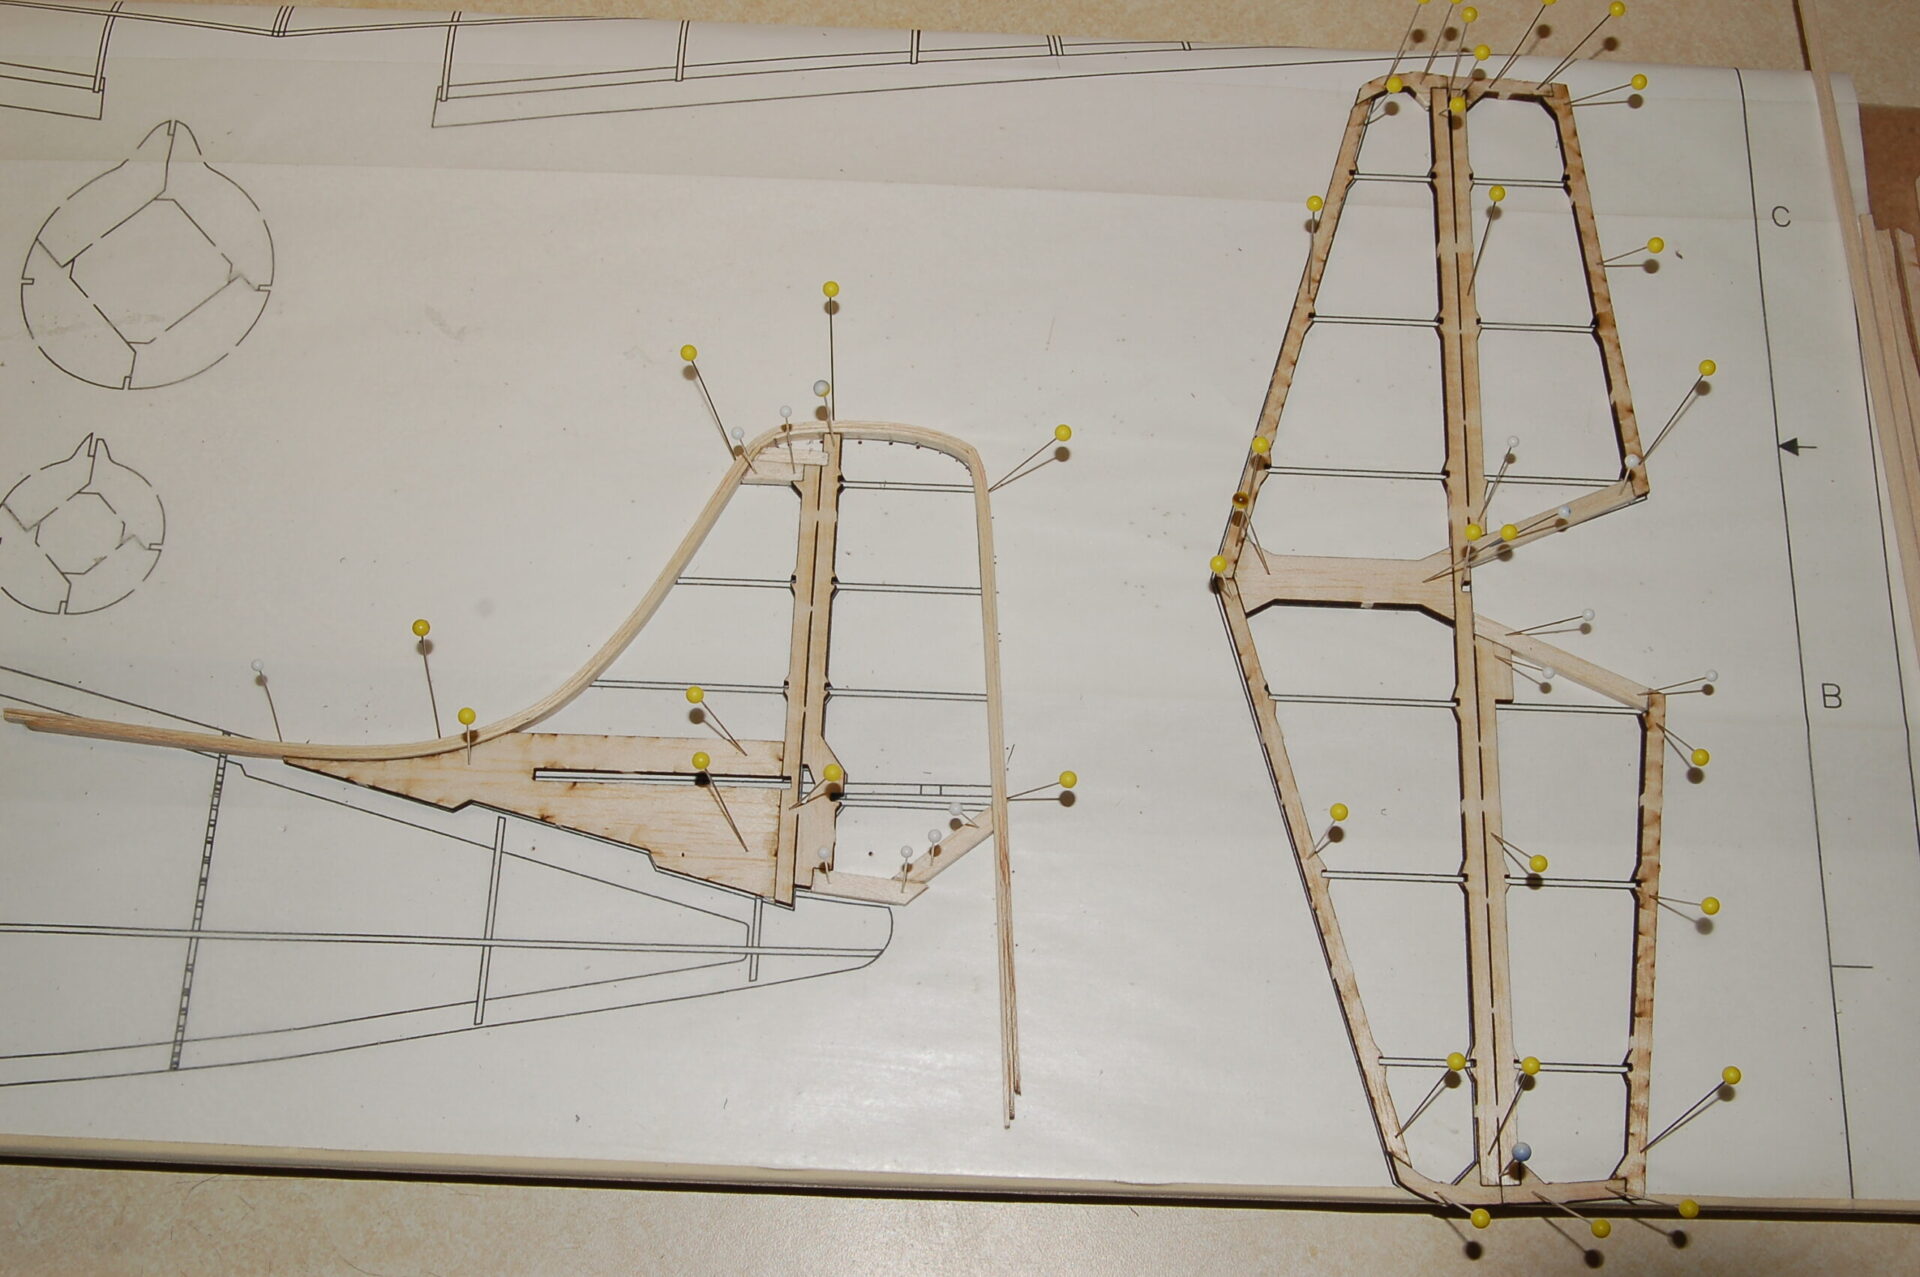
2. Tail group builds over the plan.
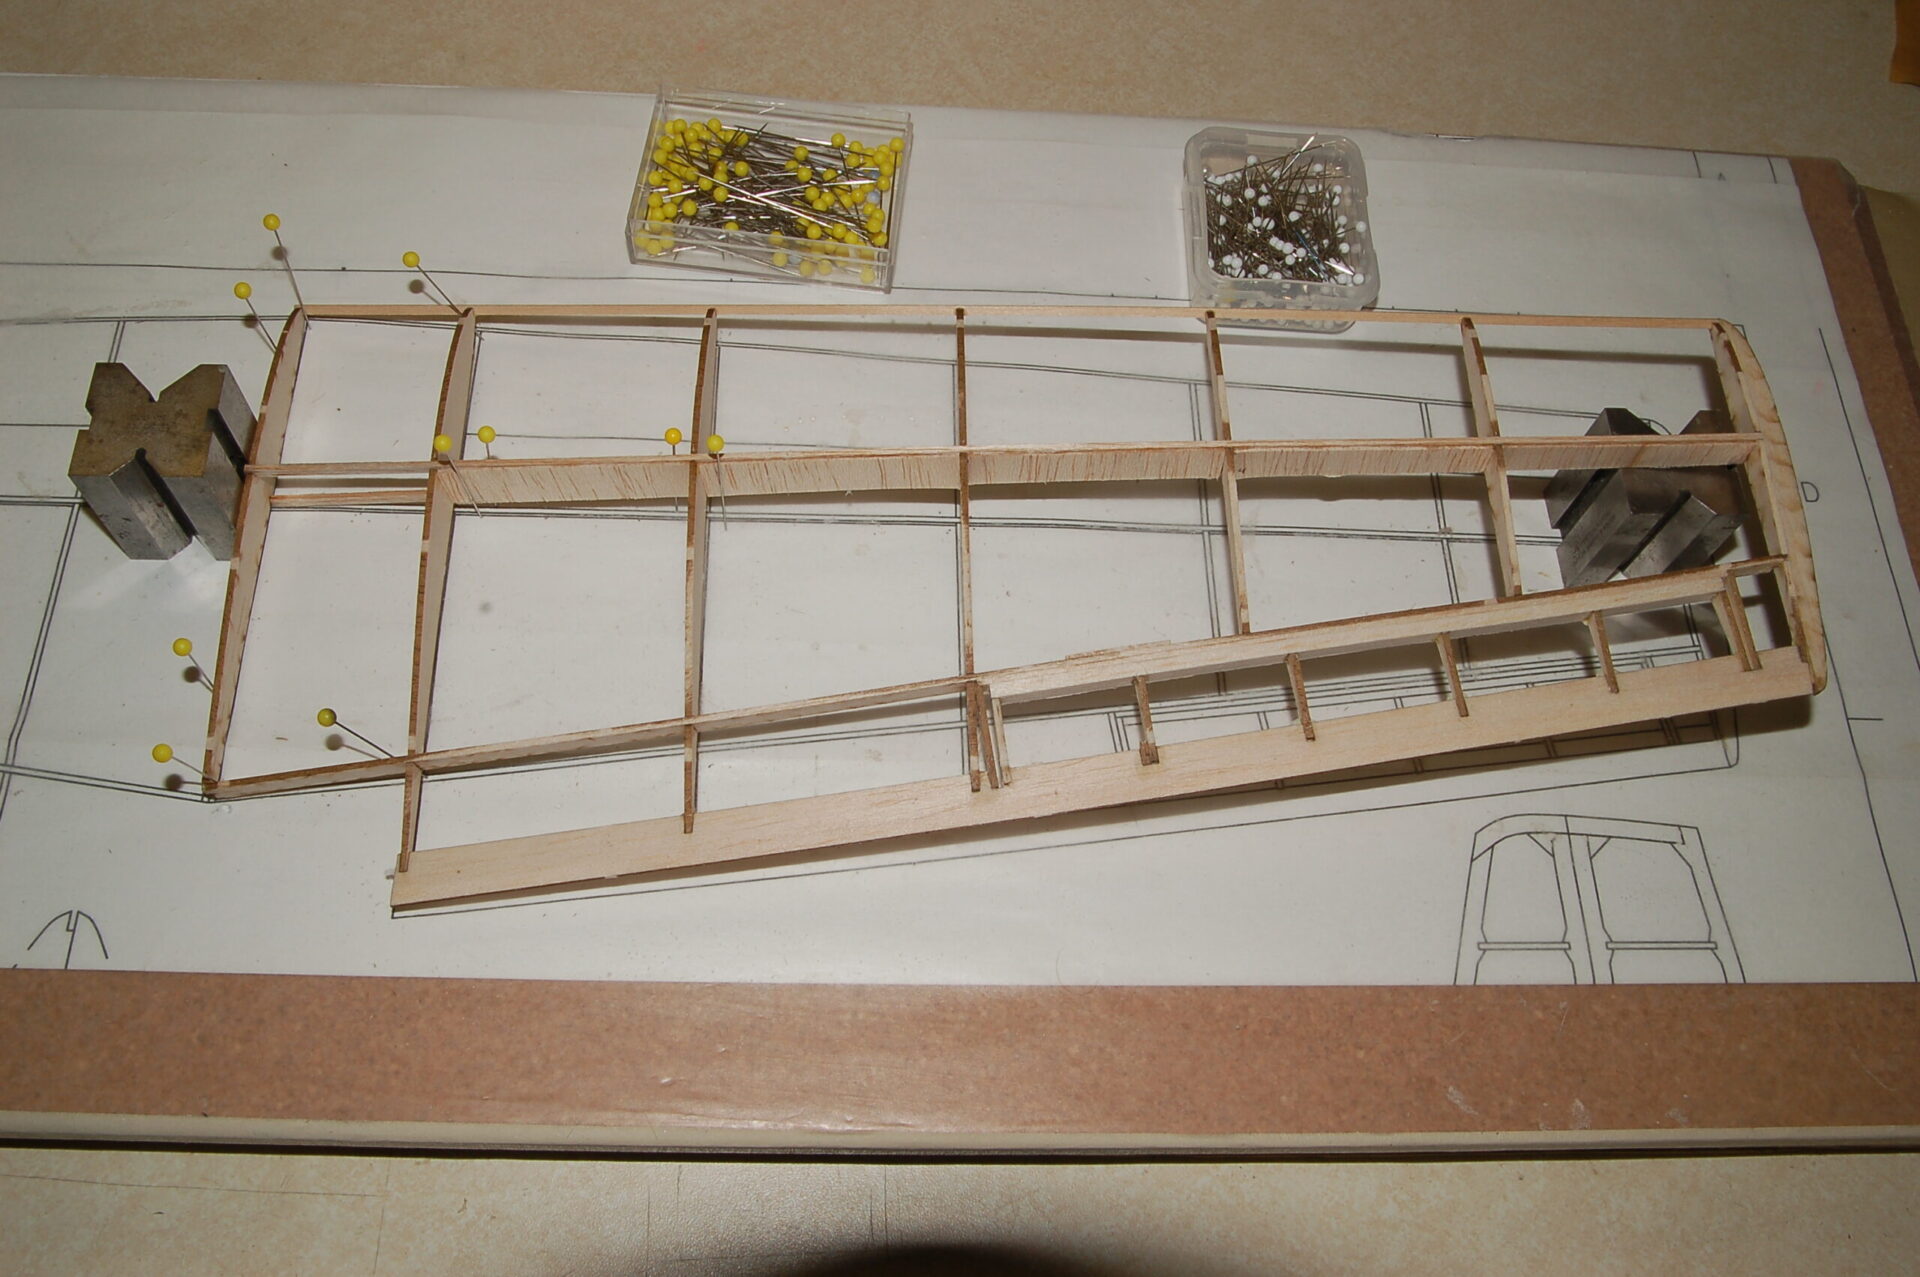
3. Wing framework finished and ready for sheeting from the main to the leading edge.
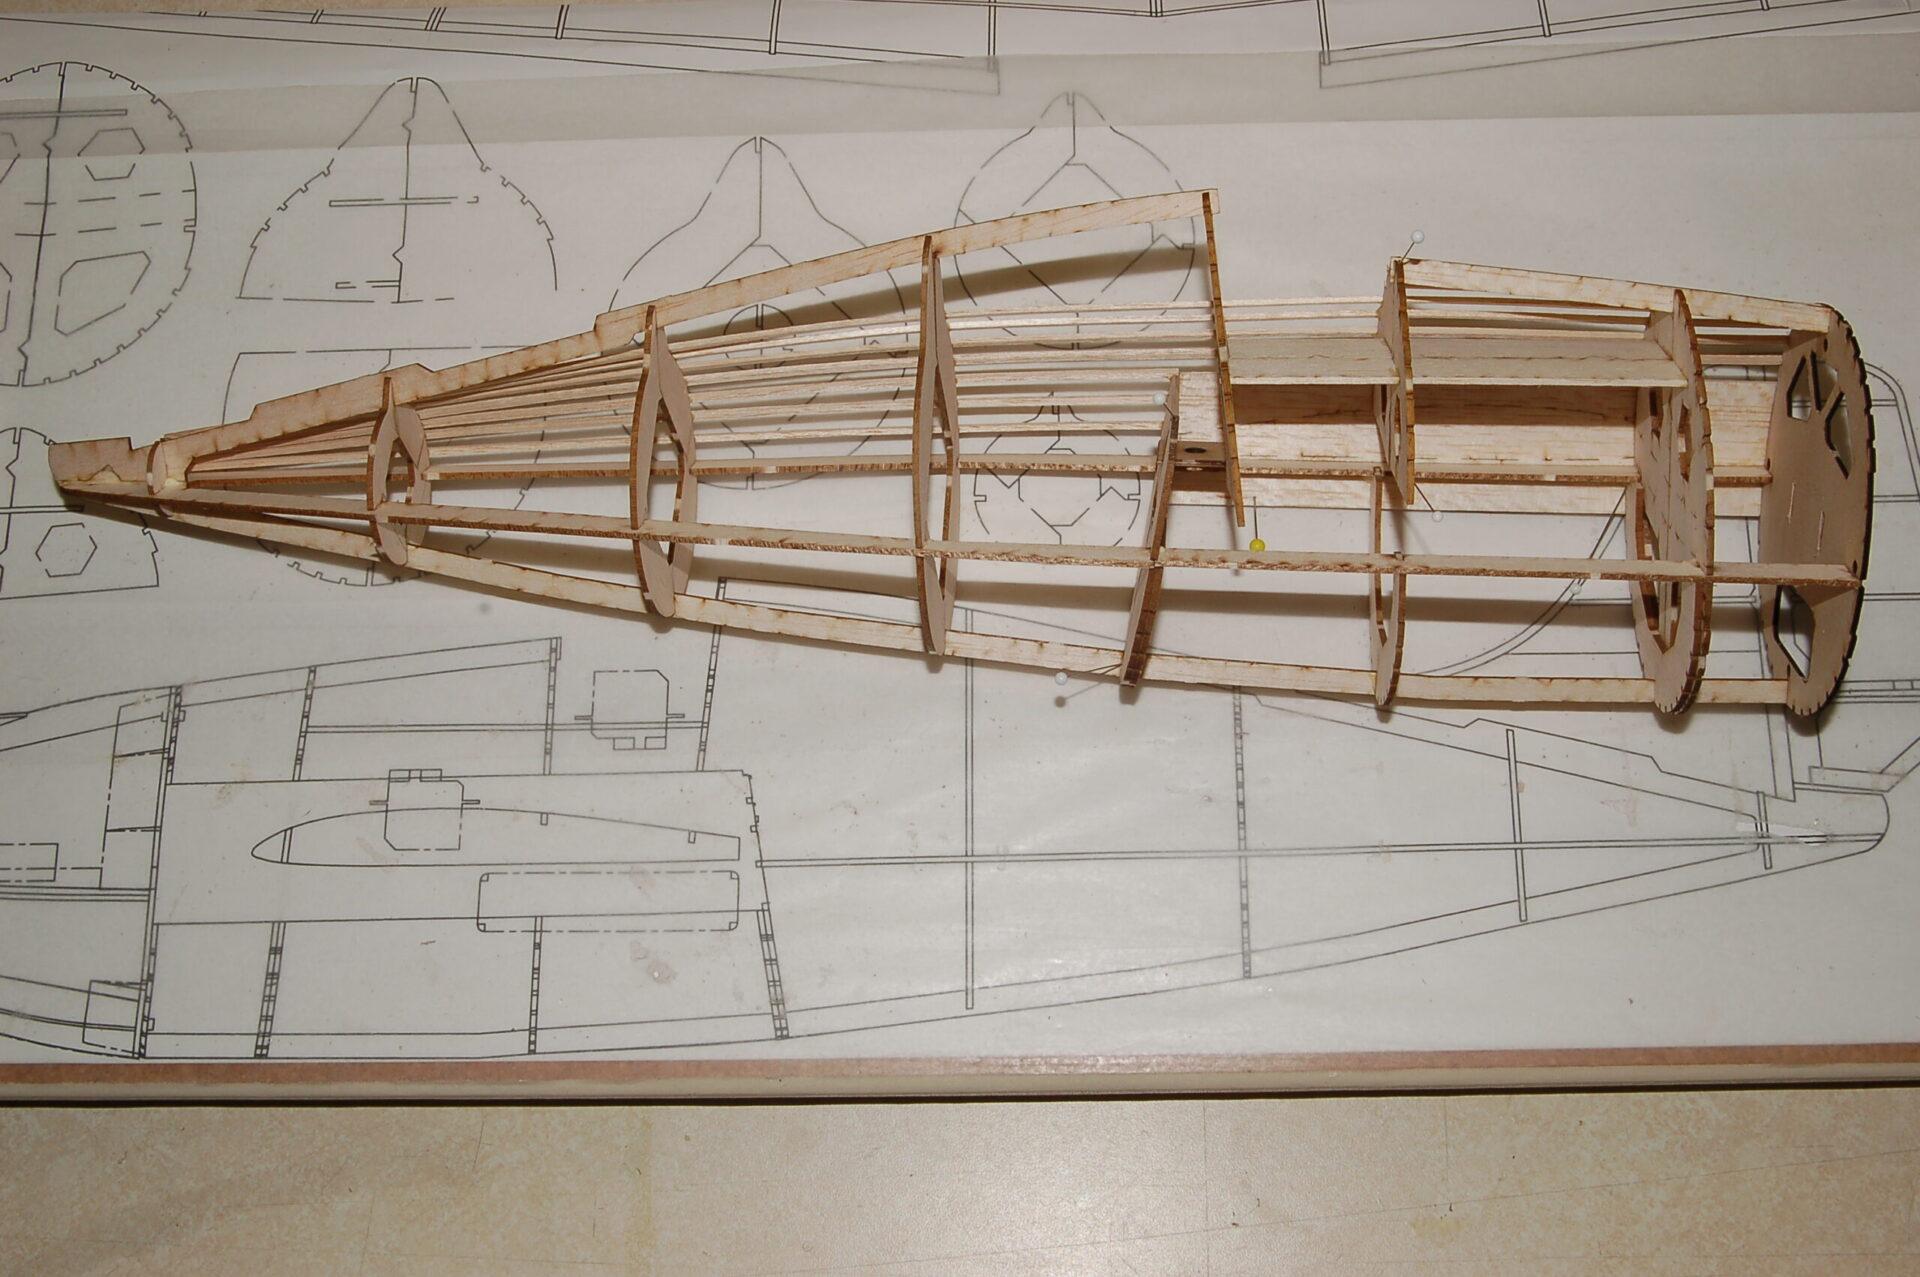
5. Right hand built free.
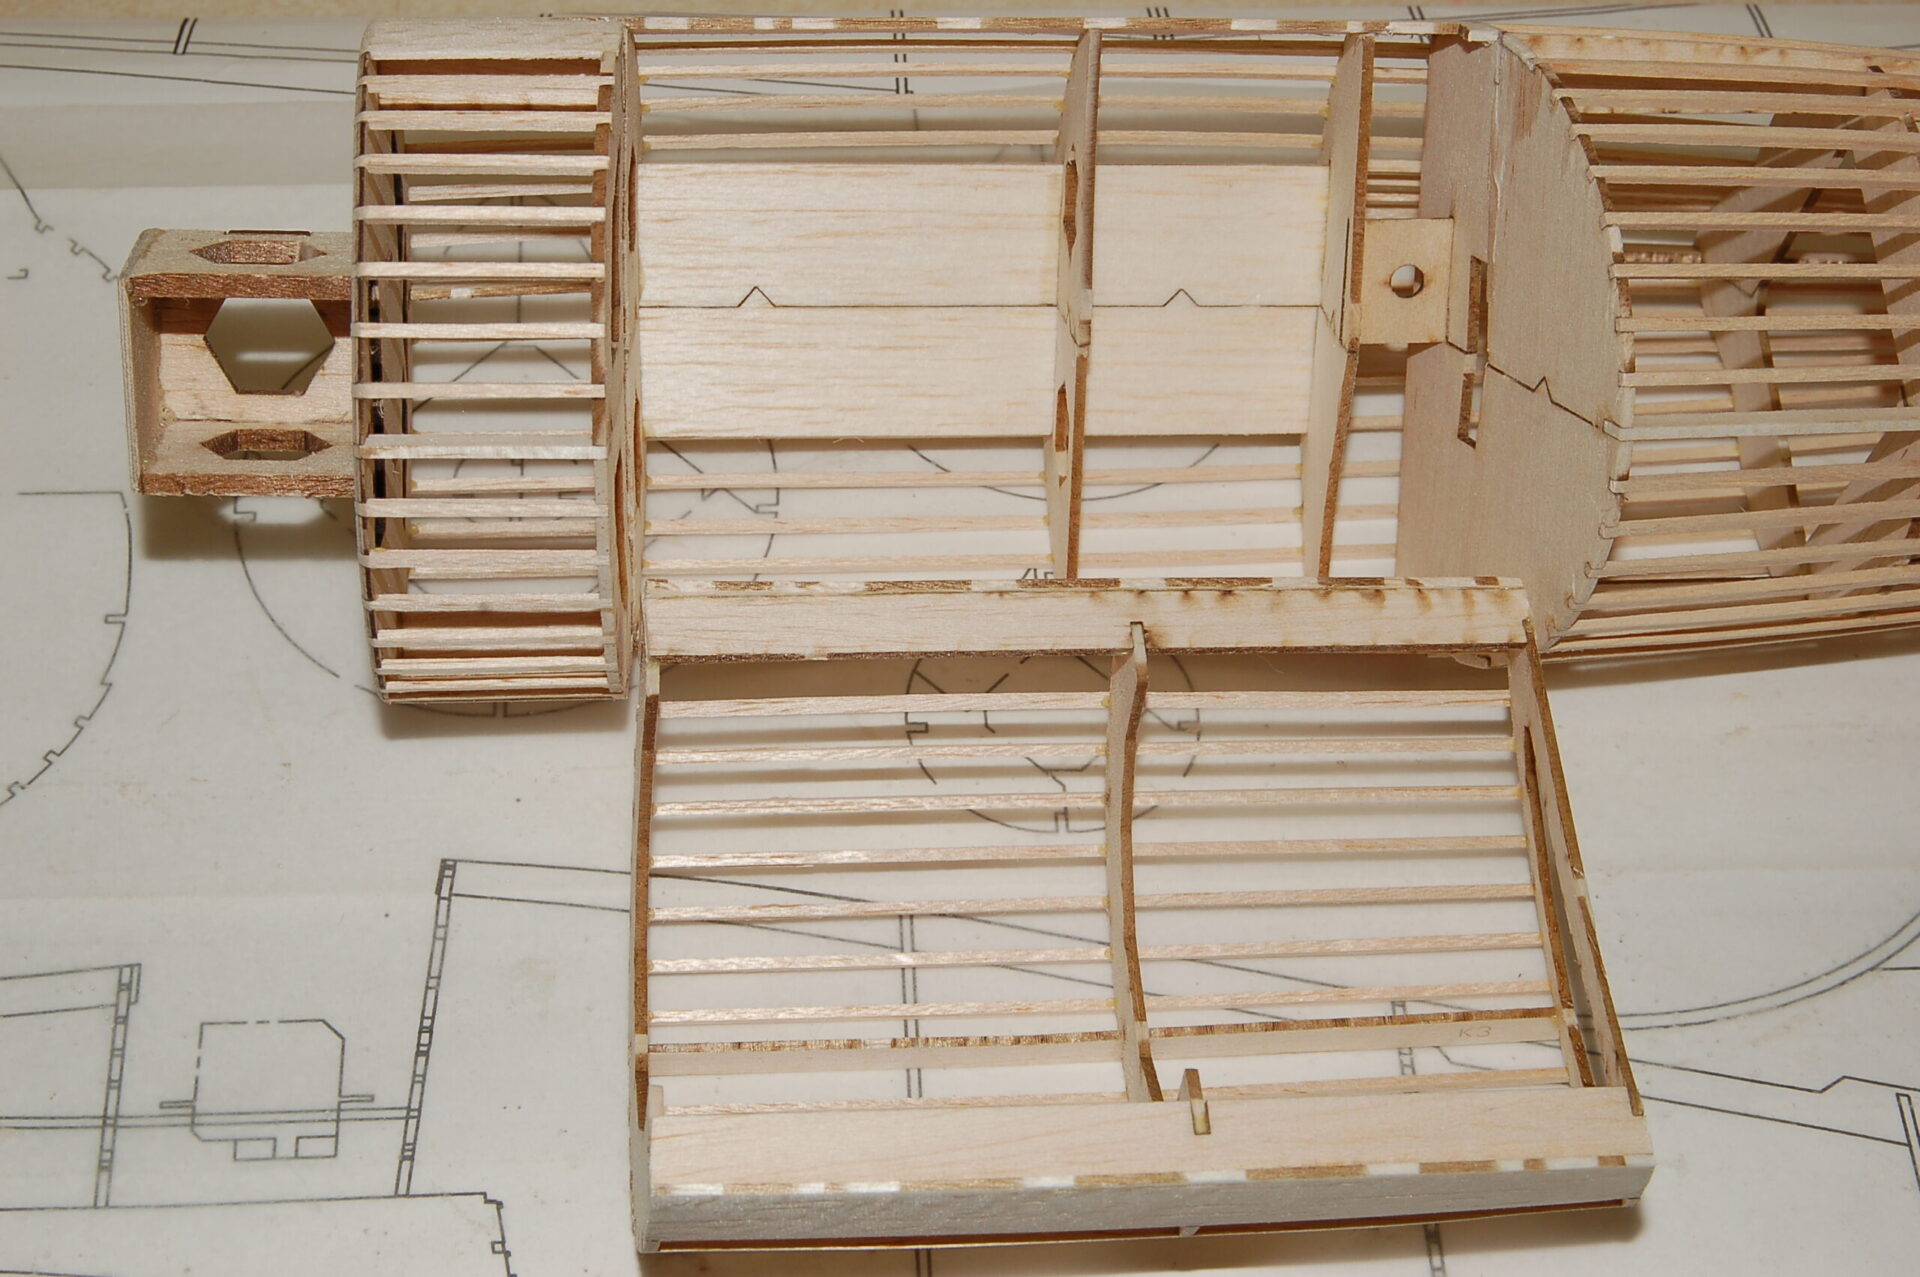
6. Motor mount in place; belly hatch has been cut free.
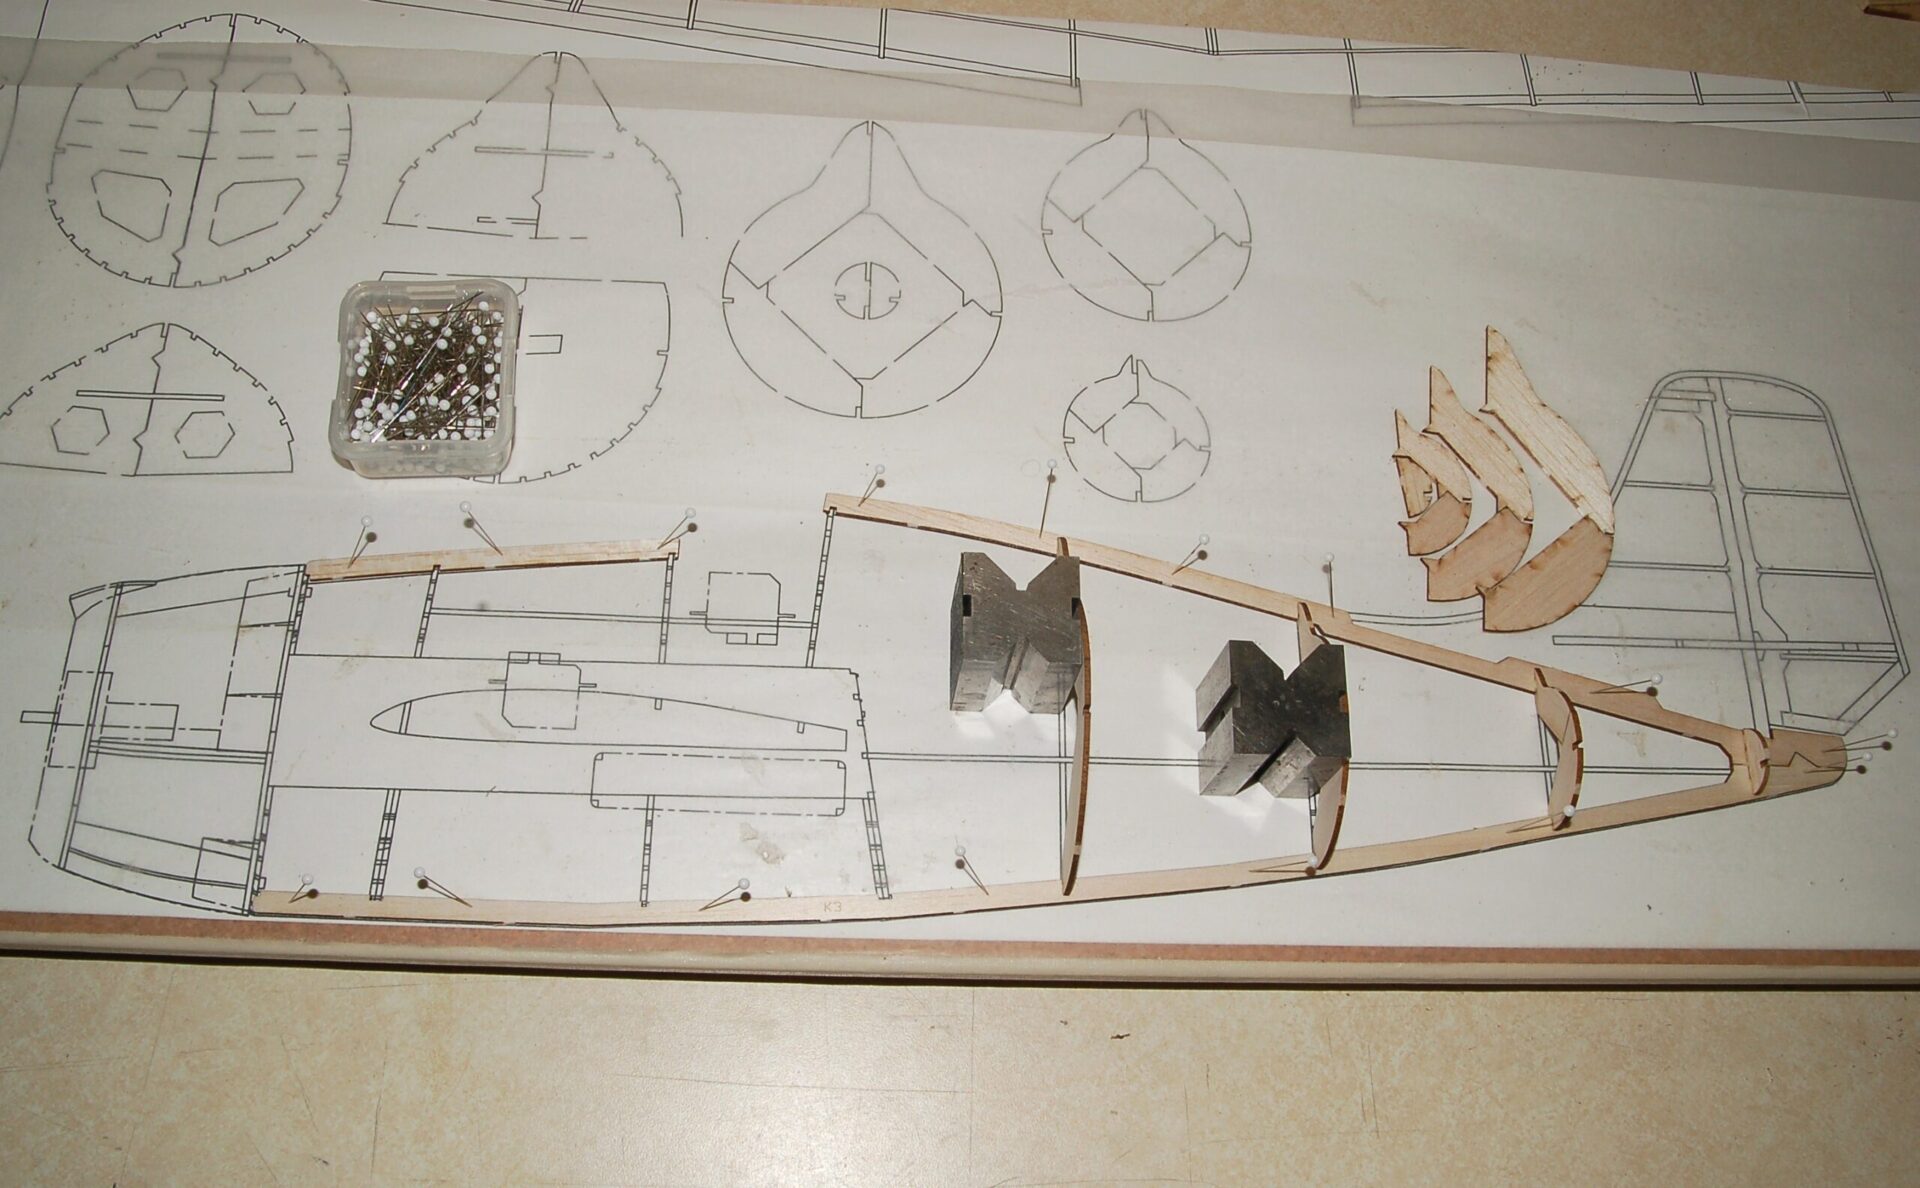
4. Left side of fuse built on the board.
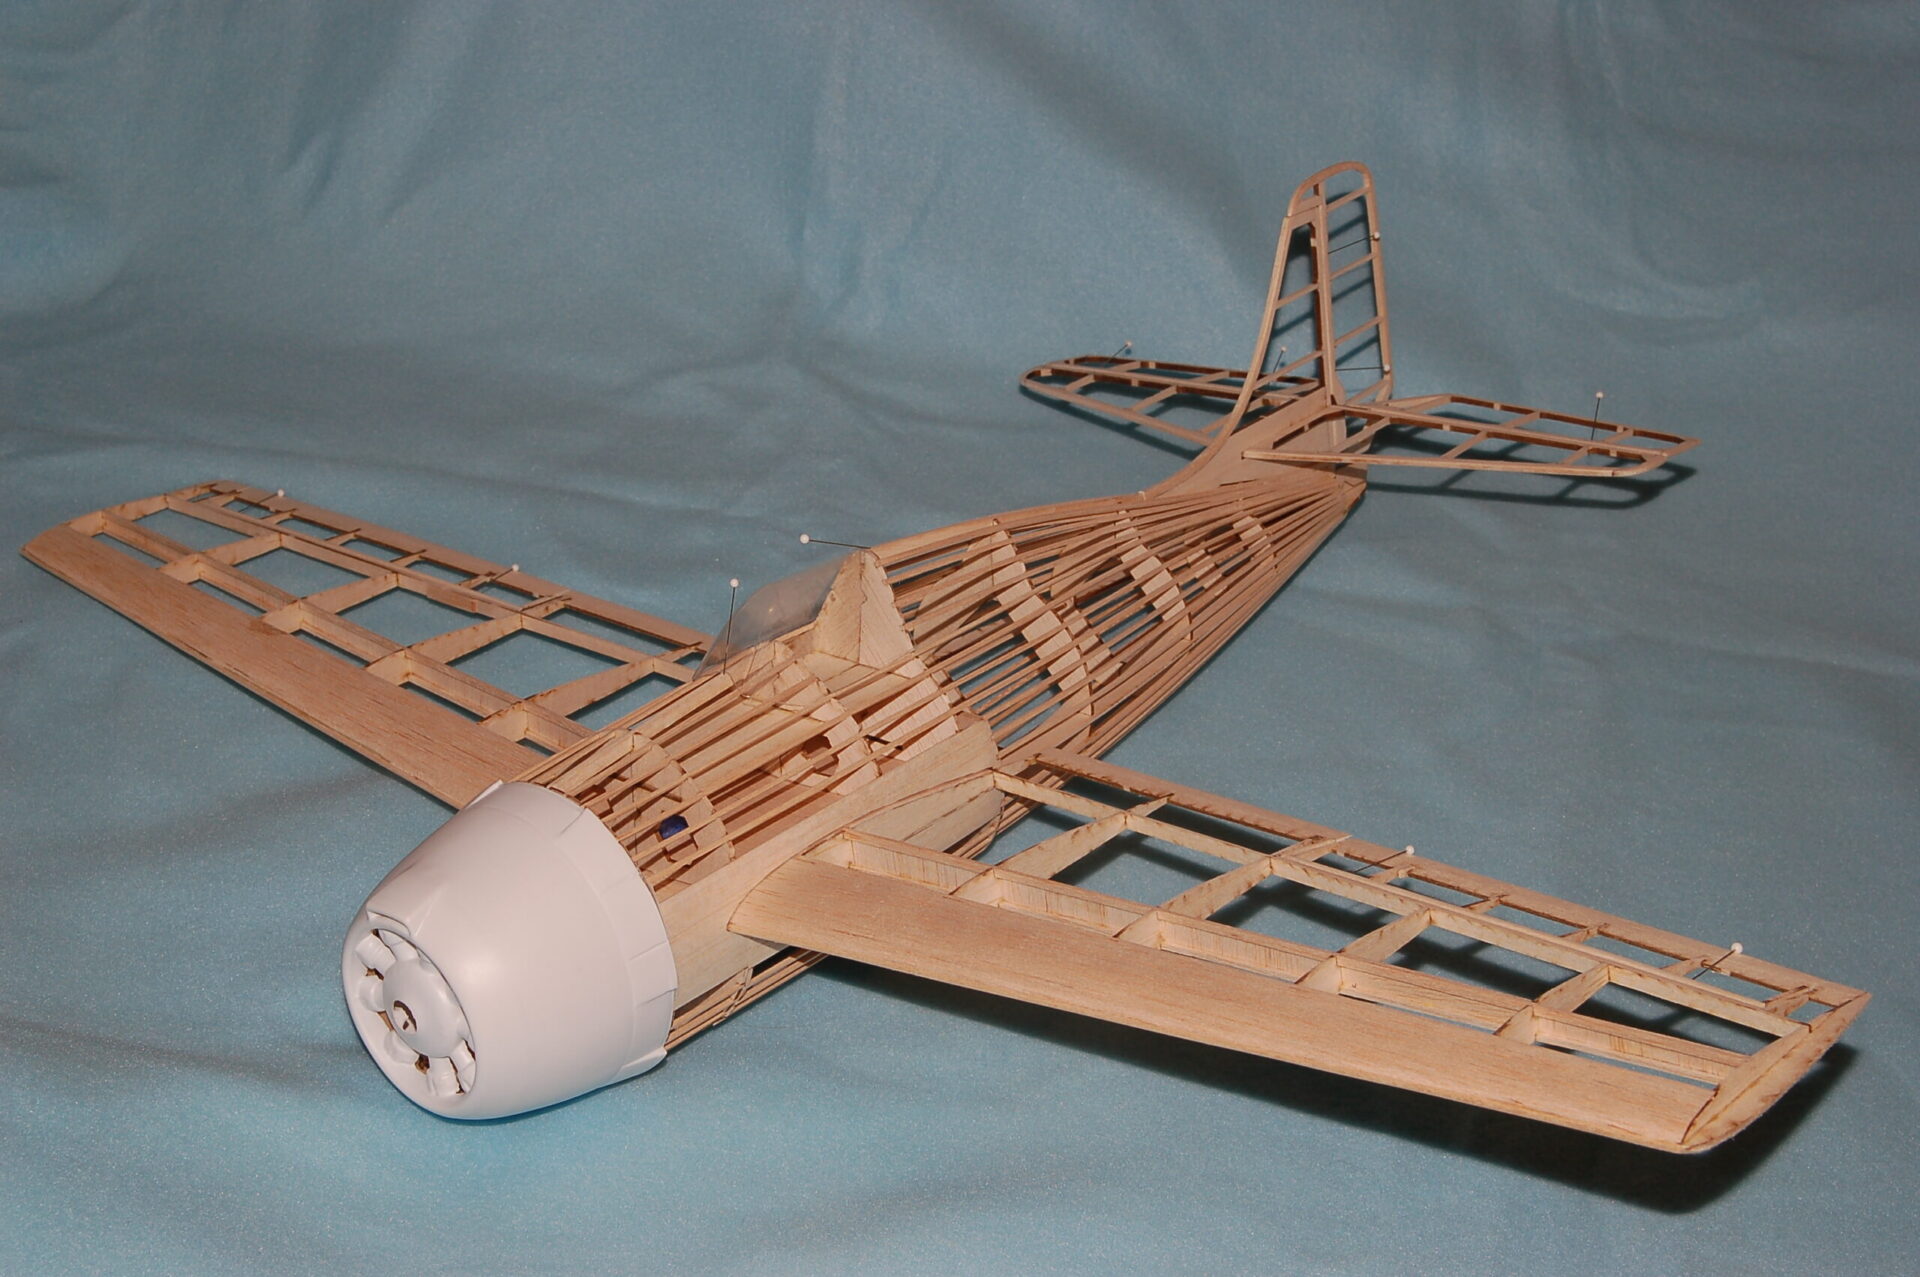
7. Framework complete and plastic parts in place.
Howard DGA-3 "Pete" - Build Photos
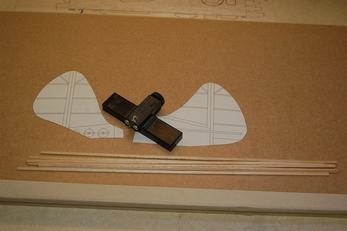
1. Stripping tool and foam forms for building the laminated outlines of the tail group.
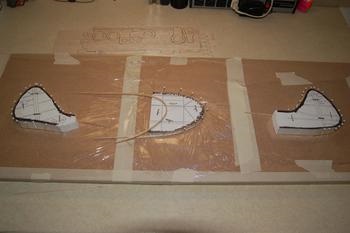
2. Laminations wrapped around the forms and pinned into place while the glue dries.
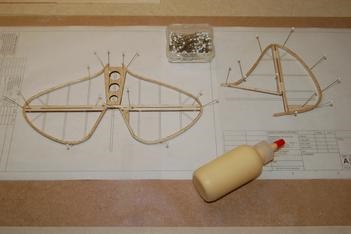
3. Laminated outlines filled with the tail framework.
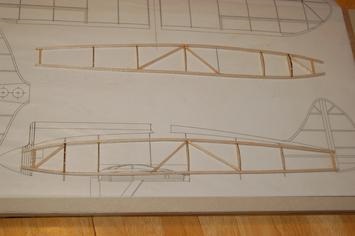
4. Left and right handed side panels built over the plan.
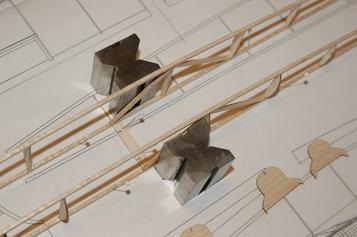
5. Side panels squared up and joined with the lower formers.
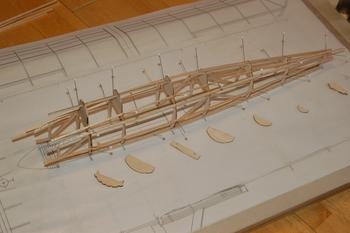
6. Top formers going into place.
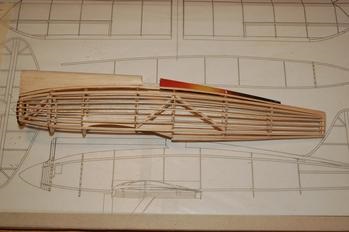
7. Stringers and sheeting of the nose and rear turtledeck complete.
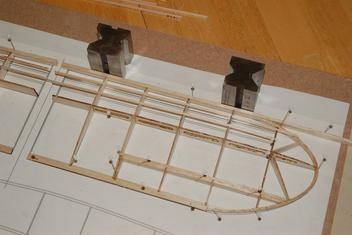
8. Wings going together.
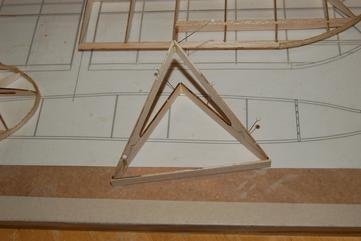
9. Spindly Pete landing gear--the bracing wire is a must-have on this model.
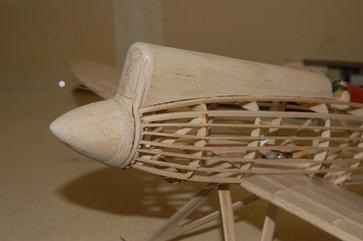
10. Soft balsa spinner turned on a drill.
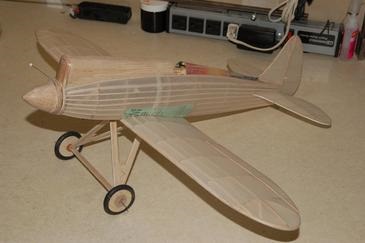
11. Japanese tissue doped with water-based polyurethane.